Imagine a dessert so irresistibly creamy, studded with delightfully crunchy cookie pieces, and bursting with a flavor that far surpasses anything you can buy in a store. Now imagine that this decadent treat requires only three simple ingredients and no special equipment. Welcome to the world of homemade Oreo ice cream! This isn't just any oreo ice cream recipe; it's a game-changer, promising a dessert experience that's easy to make, incredibly fun, and utterly delicious. Forget those mass-produced tubs; once you taste the difference of a freshly made batch, your freezer will never be without it.
Unlock the Magic of Homemade Oreo Ice Cream
There's an undeniable allure to homemade treats, and ice cream is no exception. While store-bought cookies and cream ice cream can be satisfying, it often falls short on texture, with cookies sometimes turning soggy or the base lacking that homemade richness. Our homemade Oreo ice cream recipe addresses all these shortcomings and more. You gain complete control over the cookie-to-cream ratio, the size of your cookie chunks, and most importantly, the freshness and quality of your ingredients.
This recipe isn't just about recreating a classic; it's about elevating it. The velvety smooth base, combined with generous, perfectly crunchy Oreo pieces, creates a symphony of textures and flavors that will have both kids and adults clamoring for more. It's the kind of dessert that creates memories – a fun activity to share with family, and a guaranteed crowd-pleaser for any occasion, from birthday parties to a simple movie night treat. And the best part? It's so straightforward, you might just find yourself making it once a week!
Why Your Kitchen Needs This No-Churn Oreo Ice Cream Recipe
The beauty of this particular oreo ice cream recipe lies in its incredible simplicity and accessibility. Many people shy away from making homemade ice cream, assuming it requires an expensive ice cream maker or complicated techniques. This recipe shatters that misconception. It’s a "no-churn" method, meaning there’s no need for any specialized gadgets, churning, or constant monitoring. All you truly need is a mixing bowl, a hand mixer (or even just a whisk and some elbow grease), and a freezer.
This ease of preparation makes it perfect for everyone, regardless of their culinary skill level. Whether you're a seasoned baker or a complete novice, you can achieve professional-quality results with minimal effort. It's also a fantastic project to involve younger family members; kids love crushing the Oreos and watching the cream transform. The quick prep time means you can whip up the base in under 15 minutes, then let the freezer do all the hard work, leaving you free to enjoy your day while your delicious dessert sets.
The Simple Secret: Just Three Ingredients for Dreamy Ice Cream
The foundation of this phenomenal oreo ice cream recipe rests on a powerful trio of ingredients. Quality matters here, as each component plays a vital role in achieving that perfect creamy, crunchy, sweet balance.
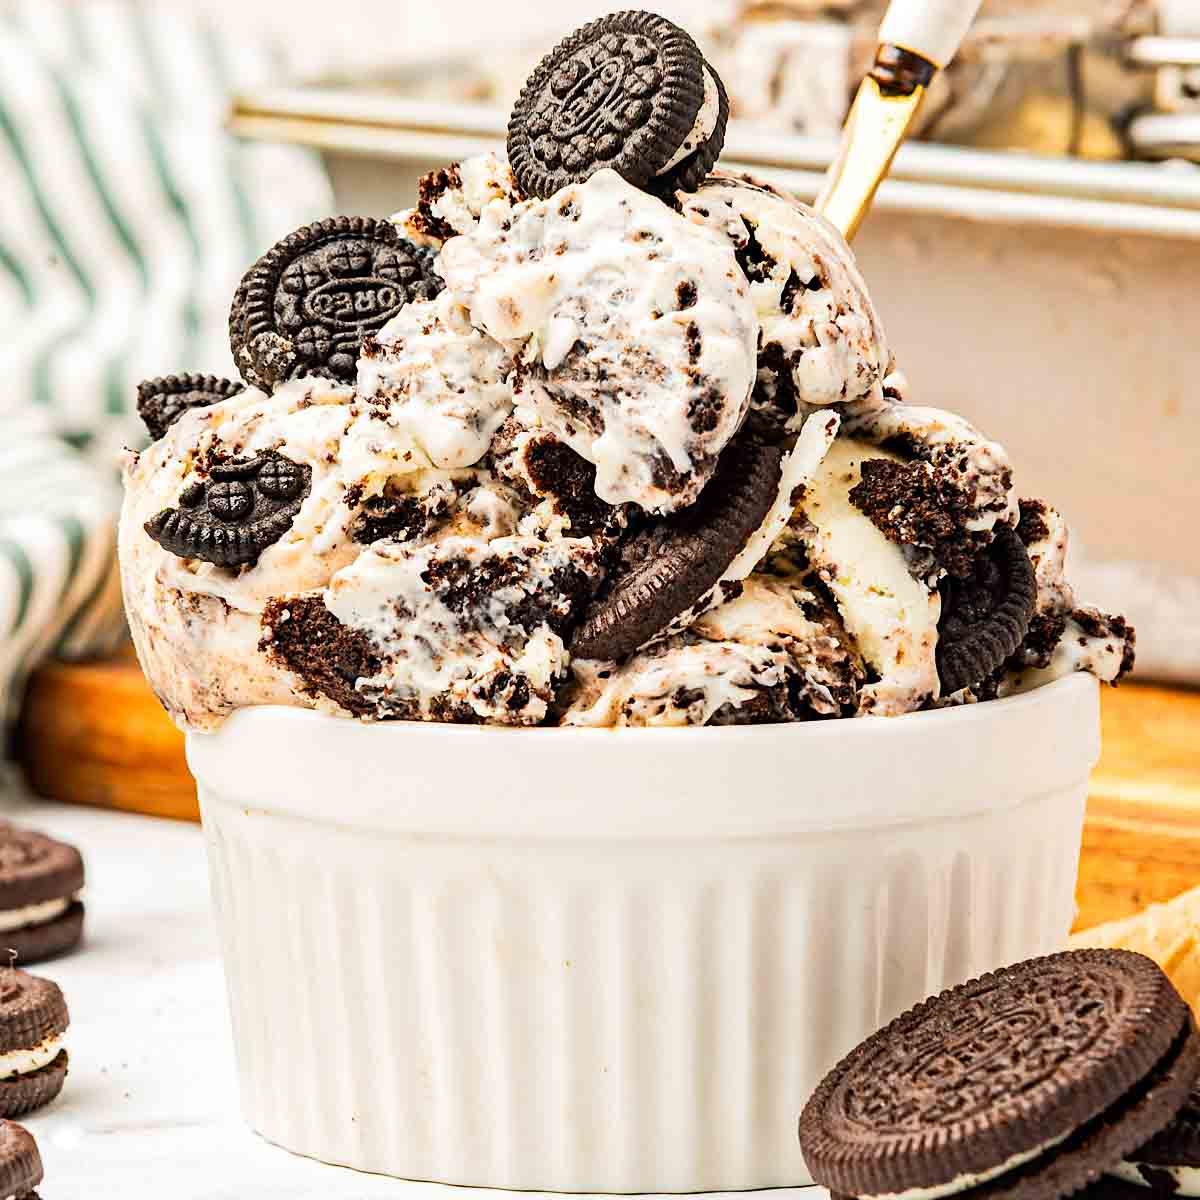
- Classic Oreo Cookies: These iconic chocolate sandwich cookies are the star of the show, providing the signature flavor and delightful crunch. You'll want a good supply, some for crushing and a few extra for topping. Don't be shy; the more Oreos, the better!
- Cold Heavy Whipping Cream: This is the magic behind the no-churn method. When whipped, heavy cream creates a light, airy, and stable base that mimics the texture of traditionally churned ice cream. It's crucial that your cream is very cold, ideally straight from the fridge, and contains at least 35% milkfat for optimal whipping and a truly luxurious texture.
- Sweetened Condensed Milk: This ingredient is key for both sweetness and an incredibly smooth, creamy consistency. It provides the necessary sugar without adding excess water, which can lead to ice crystals. Important: Be sure to use sweetened condensed milk, not evaporated milk, as they are entirely different products and using the wrong one will drastically alter the outcome of your ice cream.
That's it! No eggs to temper, no custard base to cook, just these three simple items stand between you and the best cookies and cream ice cream you've ever tasted.
Crafting Your Perfect Batch: A Step-by-Step Oreo Ice Cream Recipe Guide
Making this oreo ice cream recipe is a straightforward process, broken down into a few easy steps. Precision isn't as critical as it might be in baking, but paying attention to a couple of details will ensure the best results.
Step 1: Crush Those Cookies!
First, prepare your Oreos. Place about 20-25 classic Oreo cookies into a large, sturdy zip-top plastic bag. Using a rolling pin, the bottom of a heavy glass, or even a sturdy can from your pantry, crush the cookies. Aim for a delightful mix of fine crumbs and larger chunks. The variation in size adds wonderful textural interest to the final ice cream. If you prefer a more uniform crush or want to save time, a food processor or blender can do the job quickly, but be careful not to turn them into powder.
Step 2: Whip Up the Cream Base
In a large, chilled mixing bowl, pour in your very cold heavy whipping cream and the sweetened condensed milk. Using an electric hand mixer, start on low speed to gently combine the two liquids. Once mixed, increase the speed to high and continue whipping until stiff peaks form. This means when you lift the beaters, the whipped cream should hold its shape firmly without collapsing. This step incorporates essential air, creating that light, fluffy texture that will transform into creamy ice cream.
Step 3: Gently Fold in the Fun
Once your cream base is perfectly whipped, it’s time to introduce the crushed Oreos. Pour the majority of your crushed cookies into the whipped cream mixture, reserving a small handful for topping. Using a spatula, gently fold the cookie pieces into the cream. The key here is to be delicate; you want to distribute the cookie bits evenly without deflating the airy whipped cream. Overmixing can lead to a less creamy, icier final product.
Step 4: Freeze for Perfection
Spoon your magnificent cookie-filled cream mixture into a 3-pound loaf pan or a similar freezer-safe container. Smooth the top with your spatula, then sprinkle the reserved crushed Oreos over the surface for an appealing finish. Cover the loaf pan tightly with plastic wrap, pressing it down slightly to touch the surface of the ice cream to prevent freezer burn. Place it in the freezer for at least six hours, or ideally overnight, to allow it to set completely. Patience is a virtue here; a fully frozen ice cream will have the best texture and flavor.
Pro Tips for the Creamiest, Crunchiest Homemade Oreo Ice Cream
While the recipe is incredibly simple, a few expert tips can elevate your homemade oreo ice cream recipe from great to absolutely extraordinary:
- Temperature is Your Friend: Always start with very cold heavy cream. For an even better whip, consider chilling your mixing bowl and beaters in the freezer for 10-15 minutes before you begin. Cold tools help the cream whip faster and hold its stiff peaks longer, contributing to a thicker, fluffier ice cream.
- Don't Skimp on Quality: Use a high-quality heavy whipping cream with at least 35% milkfat for the richest, creamiest results. Better ingredients truly make a difference in the final taste and texture.
- Customize Your Crunch: Play with the ratio of crumbs to chunks in your crushed Oreos. Some prefer more fine crumbs for integrated flavor, while others love large, dramatic chunks for maximum crunch. You can even add mini chocolate chips or a swirl of fudge sauce for extra indulgence.
- Make Scooping a Breeze: To get perfectly smooth scoops every time, dip your ice cream scoop in hot water for a few seconds before each scoop. This warms the metal slightly, allowing it to glide through the frozen dessert with ease.
- Storage Savvy: Store your homemade ice cream in an airtight container to prevent freezer burn. While it's best enjoyed within a week or two, it can last up to a month in a well-sealing container.
Creating your own homemade Oreo ice cream is a rewarding experience that combines simplicity with unparalleled deliciousness. This no-churn oreo ice cream recipe delivers a creamy, dreamy dessert packed with satisfying cookie crunch that store-bought versions simply can't match. With just three ingredients and minimal effort, you can whip up a batch that will delight everyone and become a fast family favorite. So, gather your ingredients, enlist some eager helpers, and get ready to enjoy the ultimate cookies and cream indulgence – truly better than anything you can buy!
